Apricot jam
Jams and homemade jams I think the prepare all; and I think that all also know how to prepare!
But a friend who finds my jams very good, told me that I had to absolutely illustrate and describe how I do it (in practice: like everyone else)!
But I do not shoot back and ... taking advantage of a little more time, the last time I made Valais apricot jam I tried to photograph in detail (or almost) all the steps.
So, if you like, follow me also in this preparation; as always, starting first from the ingredients!
Ingredients:
| clean apricots | kg | 1 |
| gelling sugar | g | 900 |
| vanilla | pinch (made with three fingers) | 1 |
| Solvay soda | CT | 1 |
| special tools: | ||
| gloves | ||
| funnel | ||
| pot with boiling water | ||
| kitchen tongs |
Preparation:
|
Google ads |
Mercilessly discard various fruit or fruit with mold or in any case not convincing. We would risk ruining all the jam.
Wash the fruit (I also use a CT Solvay soda).
Rinse it and let it drain in a colander for a few minutes.


Start by cutting the apricots in half, remove the stone and then divide them twice more.


Weigh what is left and put it in a large container (I already use the steel pot in which I will continue cooking the next day as well).
Mix the fruit with half its weight of gelling sugar.


Add, if you like, a pure vanilla taken:
gives it a very special touch.


Stir a few times for a couple of hours (even with your hands ...), close well and leave to stand overnight
(I first close with cling film and then firmly with the lid; having the cellar underground and always fresh, then I move the pot there!).


The following day, when the fruit has softened well and has thrown out its juice, it's time to continue with the preparation.
Put the pot on the stove and bring to a simmer, stirring occasionally with a ladle.
When the fruit has started to boil, continue cooking for a few minutes so that it can finish softening.
Then add the rest of the gelling sugar and, stirring constantly, cook for another five minutes.
Note: to see if the jam has reached the right cooking point, pour a few drops on a cold saucer (previously cooled in the fridge) and wait a minute, then turn the saucer upside down: if it doesn't drip and is gelled, it's ready!


Now it's time to start filling the jars, well sterilized (see note!), With the jam.
With the help of a not too large ladle and a wide-billed funnel, pour the jam to fill the jar.


Immediately close the lid (using a pair of rubber gloves so as not to burn yourself ...) and place it upside down on a wet dishcloth
(The jars must remain upside down for about ten minutes).


Be careful not to bump the full jars together until they have cooled !!!
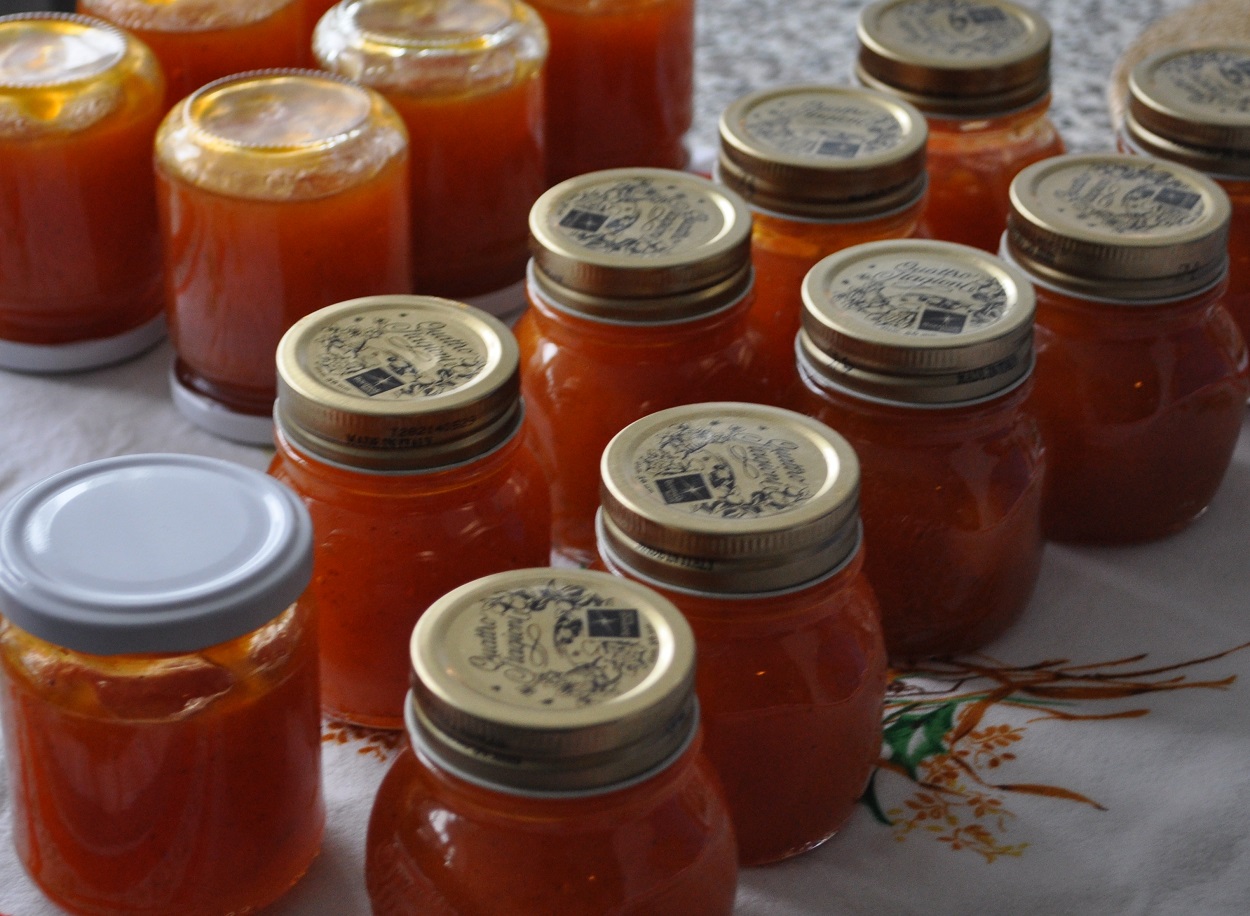
When the jars will be arrived at room temperature they can be stored in the pantry
(or, maybe, you can start using them right away!)


ADVICES AND NOTES:
|
Google ads |
 Recipe, text only: to print or download.
- Instead of gelling sugar you can use normal sugar and a sachet of citric acid;
then if you intend to pass the jam you can add an apple (or two) into small pieces complete with peel, core and seeds: it is very rich in pectin. - The jars for preserves They should be washed well and then sterilized, as the lids) for a few minutes in boiling water (to pull them out of the pot use of kitchen tongs.
They are then placed, upside down, on a wet dishcloth.


-
- Another method that I sometimes use consists of filling the jars with water a little more than halfway and passing them in the microwave at maximum power for about ten minutes.
- In case you want to be precise, the jars can be labeled to indicate the contents and the date of preparation (or preserve if we have done).
I use the adhesive Paint paper tape and I write on it with the pen, as in these old photos: it works perfectly!


-
- Related articles: Apricot season: today we go to jam! - Season Apricot: the tart with jam! - Apricot Season: pancakes with jam! - Peach jam and plums - So much jam? Let's make the pie! - Rose jam


